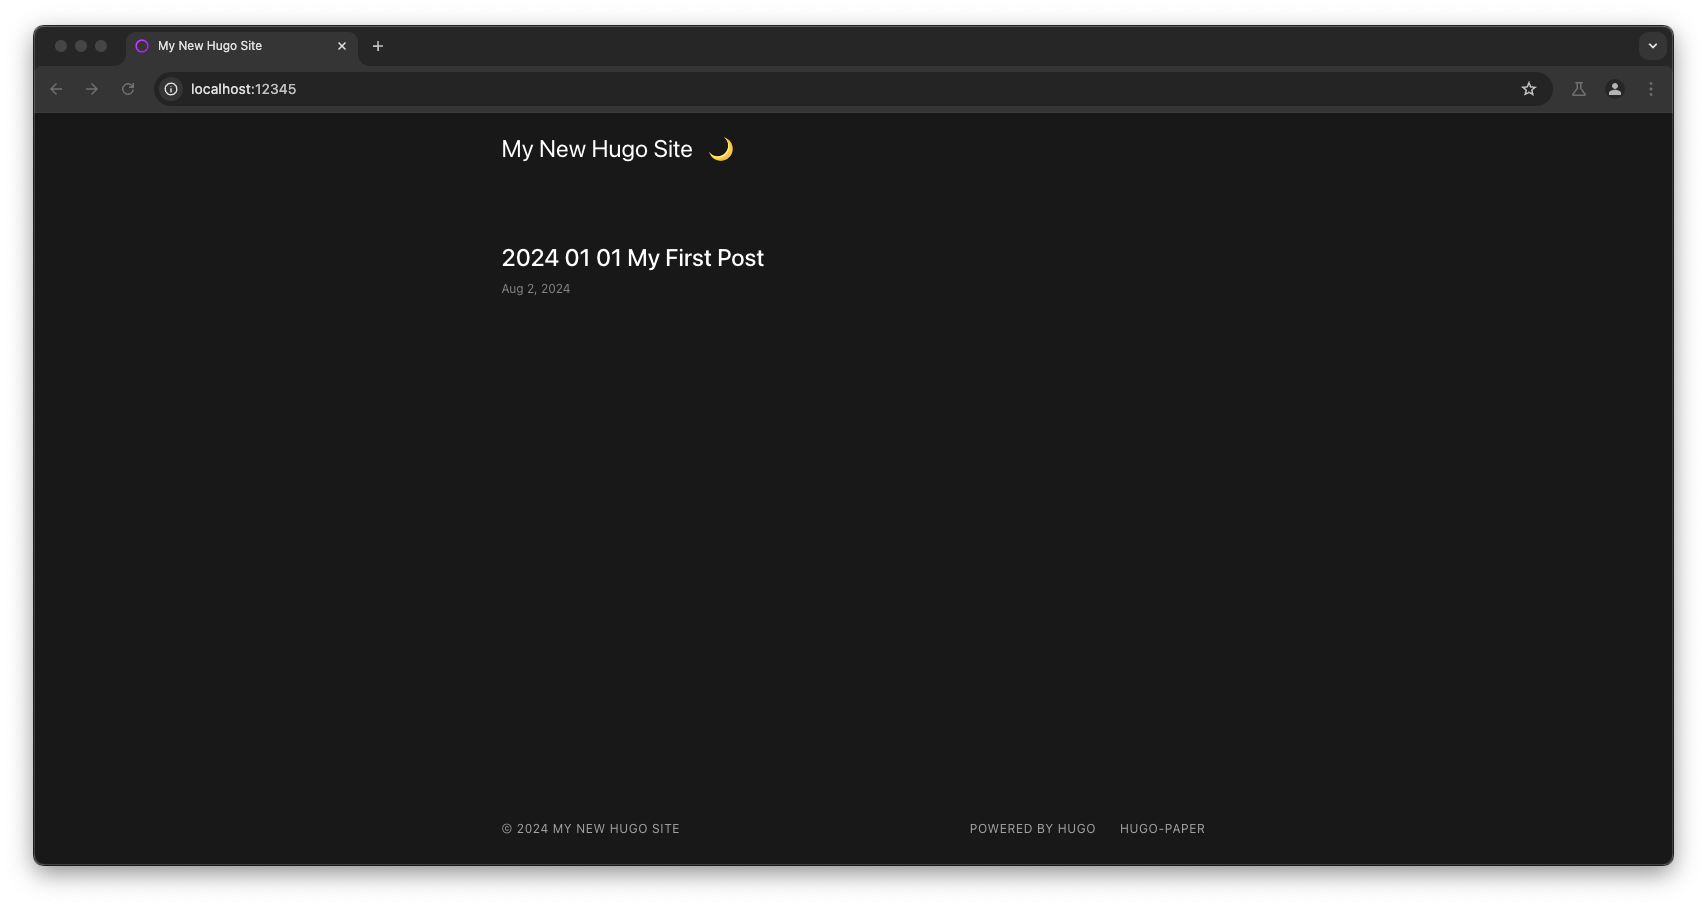
In this blog post, we will explore the fundamental commands required to use Hugo, a popular static site generator, to create and manage your first website. Hugo, written in Go, is known for its speed and flexibility in generating static websites. We will cover the steps to install Hugo, create a new site, add a theme, generate new content, and start a local server for development. This guide is a brief document designed to help you get started with creating your Hugo website.
Install hugo
To begin, you need to install Hugo. For detailed installation instructions, visit the official Hugo installation guide . Follow the instructions appropriate for your operating system to set up Hugo on your machine.
Generate New site
To generate a new site you need to execute the following command, it will create all the directory structure and some files like the config hugo.toml
hugo new site ./
Below is the directory structure that will be created after executing the command.
.
├── archetypes
│   └── default.md
├── assets
├── content
├── data
├── hugo.toml
├── i18n
├── layouts
├── static
└── themes

9 directories, 2 files
Install a theme
Themes are essential for customizing the appearance of your Hugo site. You can explore a variety of themes at Hugo Themes . Each theme provides details about licensing, descriptions, and installation instructions.
For this example, we will use the hugo-paper theme. To add this theme to your site, use the following command:
git submodule add https://github.com/nanxiaobei/hugo-paper themes/paper
After adding the theme, update the hugo.toml configuration file to specify the theme. Open the hugo.toml file and add or modify the following line:
theme = "paper"
Generate New post
To create a new post, use the following command:
hugo new content posts/2024-01-01-my-first-post.md
This command generates a new Markdown file for your post with the following content:
+++
title = '2024 01 01 My First Post'
date = 2024-08-01T22:02:24+01:00
draft = true
+++
As indicated, this post is currently marked as a draft (draft = true). Depending on how you start the server, you may or may not see the draft post on your local site. If you use the hugo server -D command, drafts will be included in the preview. However, if you omit the -D flag, drafts will be excluded from the local server view. Make sure to update the draft status to false to publish the post when you're ready.
Start the Local Server

To preview your site locally, use the following command:
hugo server -D -E -F --port 12345
The -D flag includes draft content, -E includes expired content, and -F includes future-dated content. This command will start a local server and allow you to view your site at http://localhost:12345.
References
- Markdown Guide: https://www.markdownguide.org/basic-syntax/
- Hugo Cli - Documentation:
- All Commands: https://gohugo.io/commands/
- hugo new site: https://gohugo.io/commands/hugo_new_site/
- hugo new content: https://gohugo.io/commands/hugo_new_content/
- hugo server: https://gohugo.io/commands/hugo_server/